
Student Printing for Android


- Your Android device must be connected to the BU_Secure wifi to begin. If you need help connecting to the BU_Secure wifi please visit this link or visit the HelpDesk for assistance.
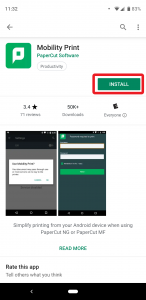
- On your Android device, go to the Play Store and search for Mobility Print or follow this link. Click install.

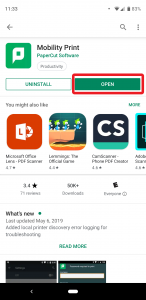
- Once installed, click open.

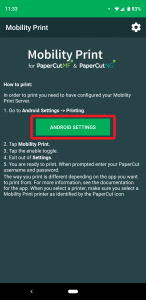
- Click on Android Settings.

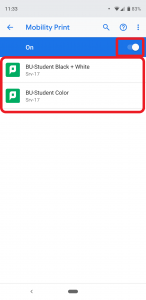
- Make sure that Mobility Print is enabled. In some cases, Mobility Print will already be enabled and you should be able to see the printers.

- Now navigate to the document that you will be printing. This may vary depending on the device, application and document. For this guide, we are using Google Docs on a Google Pixel phone. Click on the menu button of the document.

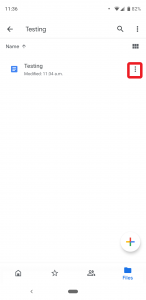
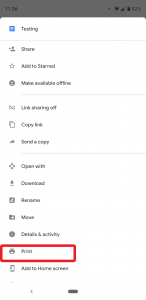
- Select Print.

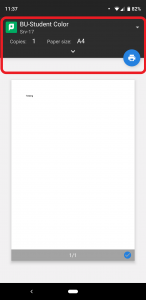
- Now you will need to choose if you would like to print to a color printer or to a black and white printer and click on the print icon.

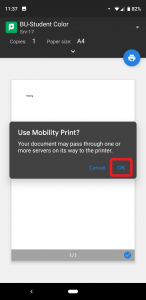
- Click on OK saying that you would like to use Mobility Print.

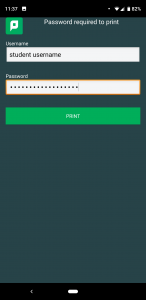
- Login using your BU username and password.

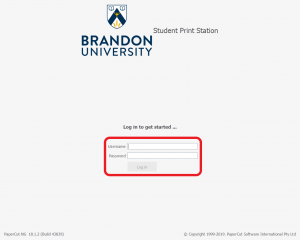
- Go to one of the designated printer release stations and login using your BU username and password.

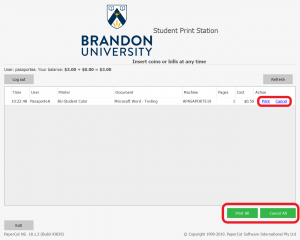
- From here you can choose to print or cancel one document, a select few or all of print jobs.

- Your documents should be at your nearest printer.
